
Everyone wants to be able to enjoy a Gazebo, but not everyone wants or has concrete to drill it into. You still need some way to secure it or risk the wind uplifting it and toppling it over. So what can you do?
In this article, we’ll give you step-by-step instructions for giving your gazebo good footing without ruining your best electric drill on concrete.
Related Reading: Can You Raise The Height Of A Gazebo?
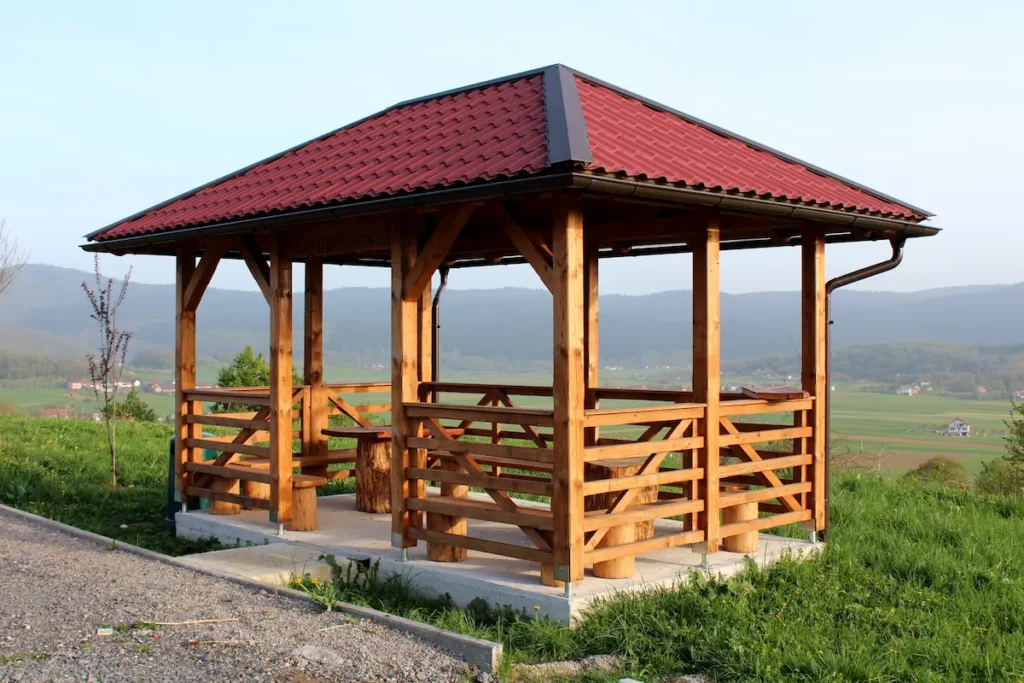
Installing a gazebo without drilling into concrete
When you don’t want to drill into concrete there are two kinds of the footing to use for your gazebo that don’t require drilling into concrete.
- Digging a hole, inserting your gazebo posts into the ground, and burying them without concrete
- Digging a hole, placing your post, and filling the space with concrete
The steps laid out below for each method will assume you’ve already squared up your layout and marked the location of where your pillars will go.
For the best results, square up your layout both on the ground, and where your desired height for each post is so that you can more easily keep each pillar level with each other.
Did you buy a premeasured and pre-cut kit? Neither of these solutions above will work very well trying to bury premade posts. You would ruin the height of the gazebo entirely if you did! Your best chance is to buy timbers with slightly larger dimensions than your gazebo’s feet. You would then bury these supports and drill the feet of the gazebo into the supports or use an anchor, but this will still require drilling. Then, to make it look nicer, you can frame the base of the pillars with wood.
Burying the Gazebo Pillars in Soil
The method requires a deeper hole than the other because it’s otherwise not as stable.
Dig Your Hole
The first thing you need to do is research local codes in your area about hole requirements that may regulate how wide and how deep you can dig because of pipes buried around suburban areas.
If there are no regulations you have to follow, go ahead and use a post-hole digger or auger to dig a hole that is between ⅓ and ½ the height of the pillar you want above ground.
You want the hole to be above the frost line, which will vary from area to area. You may be forced to dig beneath this hole in order to bury the pillar deep enough.
Make the bottom of the hole as flat as you can
Insert the Pillar
Place your pillar within the hole and make sure it’s at the height you want, and level.
Brace your pillar as you do the same process with your other pillars. This will allow you to adjust your pillars as you work to keep them plumb and square.
Check each pillar as you work to make sure they’re still level.
When most of your structure is complete, the pillars won’t move very much and will be in approximately the right positions.
Bury the Pillar
Start filling the hole of a pillar a few inches at a time so that you can continually make sure the pillars are plumb (perfectly vertical) and tamp down the dirt as you go with a 2×4.
Repeat this process until the hole is full.
Move on to the next hole and repeat.
Concrete Post and Gazebo Pillar
This is the most stable option because you are setting the pillar deep into the ground and effectively locking it into place. The only difficulty with this option is that it’s not easy to keep the pillar where you want it as you pour the concrete, and the concrete won’t protect the wood from rotting, as the wood will pull away from the concrete as everything dries, leaving a gap with water. Now let’s get started.
Gather Your Materials
Gather together 4 sonotubes, gravel, your choice of concrete mix, a post hole digger or auger, a level, and your gazebo pillar.
You’ll use sonotubes to reduce the amount of concrete you’ll be using per post and make it nicer support.
Dig your hole
Just as in the first method, you need to make sure there aren’t any local codes regarding hole requirements, but again, in general, you’ll dig a hole so that it’s ⅓ and 6” of the height of the pillar you want above ground is buried. In other words, imagine the height you want above ground, now add at least ⅓ and 6” of that height to it, which will be buried.
Try to make the bottom of the hole flat.
Have extra height on top of your pillars so that you can trim off wood from the top if necessary to keep them all level.
Since you’re using concrete for this method, make sure the hole is 3x the width of the pillar.
Set Your Pillar
Put in a gravel base 6” thick. The gravel is important because instead of letting water sit in the hole and rot wood, or rust metal, it drains the water.
Tamp the gravel level.
Place the pillar in the hole directly in the center and hold it, or have a partner hold it while you check to make sure it’s level.
When you’re satisfied, have at least one other person or use braces to hold the pillar in place while you mix and pour your concrete into the hole, leaving half an inch of clearance at the top of the hole. If you use a quick-dry concrete mix, you will have a hard post in about 40 minutes.
Recheck your post on the top and on either side to see if it’s still level and plumb (perfectly vertical). Now is the time to shimmy the pillar if it isn’t, and tighten the braces to keep it in place. Then check the pillar again.
Related Reading: Are Gazebos Sturdy In Wind?
Conclusion
Those were the two methods of supporting your gazebo without drilling into concrete. It’s always advised to ask for help from an expert at a local home improvement store (particularly the small businesses) because they will likely have the perfect answer for your problem.