
A thermocouple functions as a safety mechanism by detecting temperature variations. It consists of two connected wires that generate a spark.
The resulting spark varies based on temperature changes.
A sensor identifies this variation, and if it deviates significantly from the standard, the thermocouple will deactivate the heater.
If you own a patio heater, you might have questioned its functionality. If that’s the case, the following article will comprehensively explain your patio heater.
That is the basic idea behind a thermocouple but for a more detailed description and a guide, you can learn all you need about thermocouples to keep them working correctly.
Related Reading: How To Clean A Thermocouple On A Patio Heater [QUICK GUIDE]
Understanding the Patio Heater Thermocouple
Thermocouples work via what we call the thermoelectric effect. This means that thermal energy is converted to electrical energy in the process.
The wire conductors are made of two separate metals, and when they are connected, a voltage occurs.
The voltage in these wires can fluctuate with temperature variations because they are made of two different metals, which results in a change in electron density.
The sensor calculates the voltage once it detects these temperature changes.
Generally, the wires are made from familiar metals such as:
- Copper
- Iron
- Nickel
How To Know If The Thermocouple Is Malfunctioning
Keep an eye out for a few signs that could indicate a problem with the thermocouple if your patio heater is not functioning correctly.
This could potentially require bypassing or replacing the thermocouple. It is important to look for the following in understanding the patio heater thermocouple issues.
- Missing insulation or exposed wires can show wear or corrosion on the wiring.
- Any damage to the connectors
- Discoloration, cracks, and other damage on the tube could be signs of tube contamination.
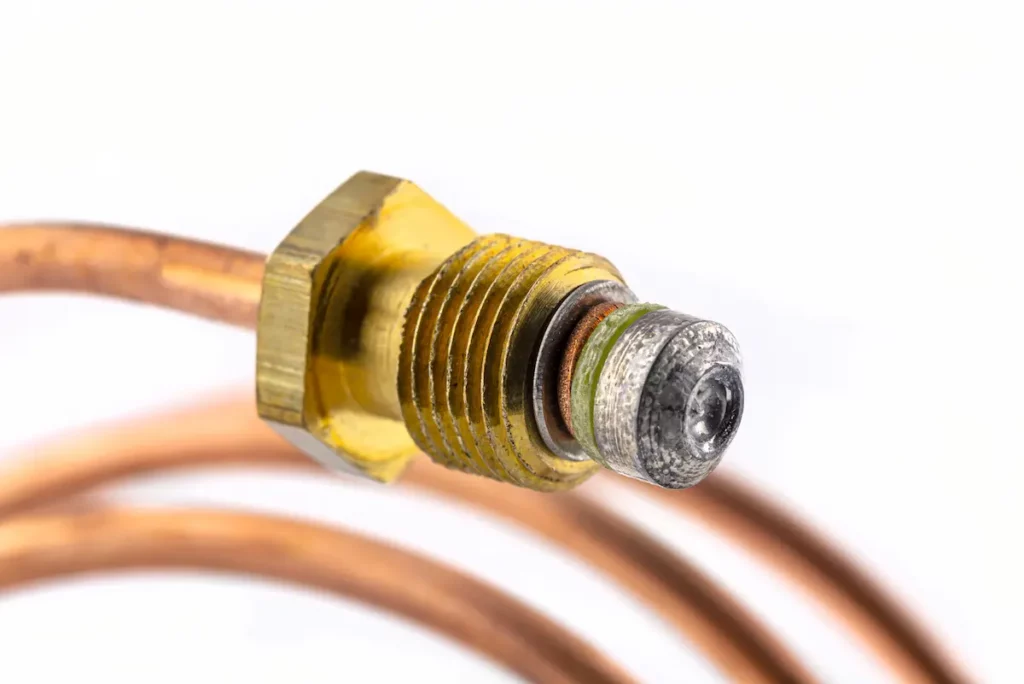
Where Is The Thermocouple Located?
Understanding the patio heater thermocouple to troubleshoot, replace, or bypass it to fix your heater, you will need to know how to find it.
If you’re unsure where the thermocouple is, look around the flame. The thermocouple usually has a few typical components:
- A tube
- Wires
- Copper casings
- A bracket
Usually, copper wires connect the gas valve from under the bracket, with the bracket held together by a nut.
They may look different depending on each heater, so check to ensure you know where it might be.
Testing the Thermocouple
If you are considering testing your thermocouple, it is advisable to seek the assistance of a professional.
However, if you prefer to conduct the test independently, you will require several items for the procedure:
- A wrench
- A multimeter
- Something to spark a flame, like a candle, match, or lighter
To perform the test, you will need to follow these instructions:
- Turn off the gas before starting.
- Unscrew the connection nuts on the brackets and undo the copper wires to remove the thermocouple.
- Set your meter to ohms. When you touch the meter’s leads together, it should read zero. Return the meter to volts if you don’t.
- Turn on the flame source.
- Place the thermocouple in the flame and make it heat up until it is to a significant temperature.
- Connect the multimeter’s leads to the thermocouple. It should have one lead on one side, and the other lead should be at the end of the previous one by the flame.
- If the reading is between 25 and 30 mm, then that means that your thermocouple is working correctly. If it is less than 25 millimeters, you might need to bypass or replace your thermocouple.
Understanding the Patio Heater Thermocouple Bypass Technique
If your thermocouple is found to be malfunctioning, it is advisable to replace it, although this can be costly.
If you lack the necessary funds, an alternative approach would be to bypass the thermocouple temporarily, allowing for its continued use until a replacement becomes feasible.
To be able to bypass a thermocouple, you will need the following things:
- Pliers
- 8mm wrench
- 13mm socket wrench
To bypass the thermocouple, you need to follow these instructions:
- Remove the spring valve from the inside of the thermocouple. To do this, move the switch wire out of the way and use the 8mm wrench to take out the thermocouple.
- Pull the valve housing out of your way with the 13mm socket wrench
- Remove the valve with the pliers.
- Once you have taken out the spring valve, put the thermocouple back.
Once you have completed these steps, the gas will flow directly into the burner upon activation, bypassing the need for the thermocouple.
However, it is strongly advised to promptly replace the thermocouple as it serves as a crucial safety component, and being without it for an extended period can pose potential dangers.
Replacing the Thermocouple on a Patio Heater
Truly understanding the patio heater thermocouple is necessary before attempting to replace it.
The following equipment will be needed to replace the thermocouple.
- A screwdriver
- Pliers
- 8mm wrench
This should provide sufficient resources to uninstall and replace the new thermocouple successfully.
Removing The Broken Thermocouple
The assembly of the ignition should be held by one screw and should be able to be undone by a screwdriver.
- Remove the covering on the front of the heater.
- Unscrew the box housing at the back of the thermocouple and move it out of your way.
- Unscrew the nut that holds the thermocouple with the pliers.
- You should be able to pull the wire connectors loose without any other equipment.
Putting In The New Thermocouple
- Connect the connectors of the new thermocouple to the tilt switch
- Connect the other end to the gas valve
- Tighten the connections with the 8mm wrench
- Put the wires back through the thermocouple and box housing
- Put the covering back on the front of the heater
To summarize, the removal and reinstallation involve a process that should be carried out in reverse.
It is advisable to seek professional assistance for this task, but if you choose to proceed independently, remember to turn off the gas and electricity and conduct thorough research on the specific steps and your heater model prior to beginning.
Cleaning The Thermocouple
Ensuring a long life for the thermocouple is easy by cleaning it, as dirt can interfere with its ability to light up.
- First, turn off the gas.
- Unscrew the bolts of the thermocouple and remove it
- Use a damp rag and no chemical cleaners, and give the inside a wipe-down.
- Afterward, use a dry towel to pat it down.
- Rinse the inside of the tube with the hose.
- To ensure it is dry enough, let it air-dry.
- Reattach the thermocouple only after it is completely dry.
- Reconnect the gas.
- You may have to tighten the connection between the gas valve and the pilot.
Conclusion
The thermocouple, featured in numerous patio heaters, serves as a safety mechanism that operates through a thermoelectric procedure.
Comprised of two distinct metal wires, it generates a voltage, which is then assessed by the sensor, determining whether the heater should maintain its illumination.
If it malfunctions, then the heater may not work. However, you might be able to bypass or replace it if this happens.
In the event of a malfunction, the heater may fail to operate.
Should this occur, it is possible for you to either bypass or replace it independently.
Understanding the patio heater thermocouple will aid in troubleshooting heating issues.
Having a patio heater during those cooler nights will extend the use of your patio.
Enjoy living the outdoor life!!!
Continue Reading: Common Patio Heater Problems & Fixes