
Pitching a tent can be tricky, particularly for a beginner and in extreme weather conditions, but we will teach you to effortlessly set up your tent in all conditions.
A basic knowledge of the whole procedure can significantly help lessen the effects of most of these challenges.
Setting up will be less daunting with regular practice and strict adherence to the basic steps and tips below.
A properly set-up tent will protect you against winds, rain, and/or other outdoor nuisances, ensuring a relaxing night’s sleep.
Basic Tenting Gear
At the very least, the tent gear will comprise the tent itself, a tarpaulin (tarp) or a ground sheet, poles, stakes, and a rain fly.
A checklist can help you keep track of everything before heading out for the camp.
Always pack the items in a manner that ensures you get the first things for the tent setup out first.
Get a mallet to pound in the pegs or stakes into the ground. You can also get a peg remover to help disassemble the tent.
A handheld brush is also perfect for sweeping out your tent and brushing down the tarp or tent base at the end of the break.
Other essentials for your shelter may include a sleeping pad, a sleeping bag, roll mats, and a pillow.
This contains essential camping gear and safety tools like insect repellents, a first aid kit, and cookware.
For your convenience, here is a link to camping gear through Amazon Affiliates.
Related Article: How to Choose Tents for Camping
Choosing the Ideal Spot

Most campgrounds will have designated and well-developed campsites.
However, knowing what a good camping spot entails is essential if you are camping out of such areas.
A location on a higher ground will be better to avoid incidents of flash floods and so on.
Therefore, avoid low-lying areas, canyon floors, valleys, depressions, and washes. Water will always gather in such areas.
Camping near rivers and streams also exposes you to the dangers of possible flooding.
Remember to take in the surroundings to ensure accessibility and overall safety.
This means watching for spider webs, beehives, and the Widowmaker, also known as the fool killer.
A Widowmaker is a rotten or low-hanging tree branch bound to fall anytime.
My wife loves having her picture taken underneath a Widowmaker while hiking.
The spot should be far enough away from fire pits to prevent embers from landing on the tent.
You should also camp at least 200 feet away from water sources to avoid flash floods and water contamination.
Also, always look for signs of creepy critters around the area and carry repellent measures.
We spray our tent with bug repellent at approximately 30 minutes before bed.
Tents don’t fare well with climate control, and setting up in direct sunlight will add excessive heat inside the tent.
Patterns like the sun’s setting can give you an idea of how sunlight will hit the tent.
Consider the rules and regulations regarding a given area and be ready to practice the Leave No Trace principles.
I can recommend the Kelty Discovery Basecamp Tent. My wife and I had this tent for three years and found it easy to set up.
It only takes several minutes to set up, including the rain fly.
We have the six-person tent from Kelty that gives us ample living space.
If you are interested, please check it out here.
Kelty Discovery Basecamp Backpacking Tent
Effortlessly Set Up Your Tent Step By Step
The tent setup process will differ from tent to tent, but these steps will allow you to effortlessly set up your tent like an expert.
Most modern types have an inner compartment, a fly sheet, and poles that form dome or tunnel-like structures.
Kindly note that setting up a tent comes after identifying the most ideal camping spot possible.
Below are the steps you should follow when setting up a tent:
Step 1: Setting the Tent’s Foundation
The first step is to lay out the tent’s footprint by laying a protective tarp or groundsheet on the ground.
The tarp provides a barrier between the tent’s base and the ground.
It protects the tent from gathering moisture from underneath, improving its lifespan.
The tarp also assists in smoothing out the ground for extra comfort and keeps the tent base clean from dirt, wetness, or dust when packing.
Tuck the visible edges beneath if the footprint is larger than the tent’s floor.
This ensures that water collected by the rainfly doesn’t get underneath the tent base over the tarp.
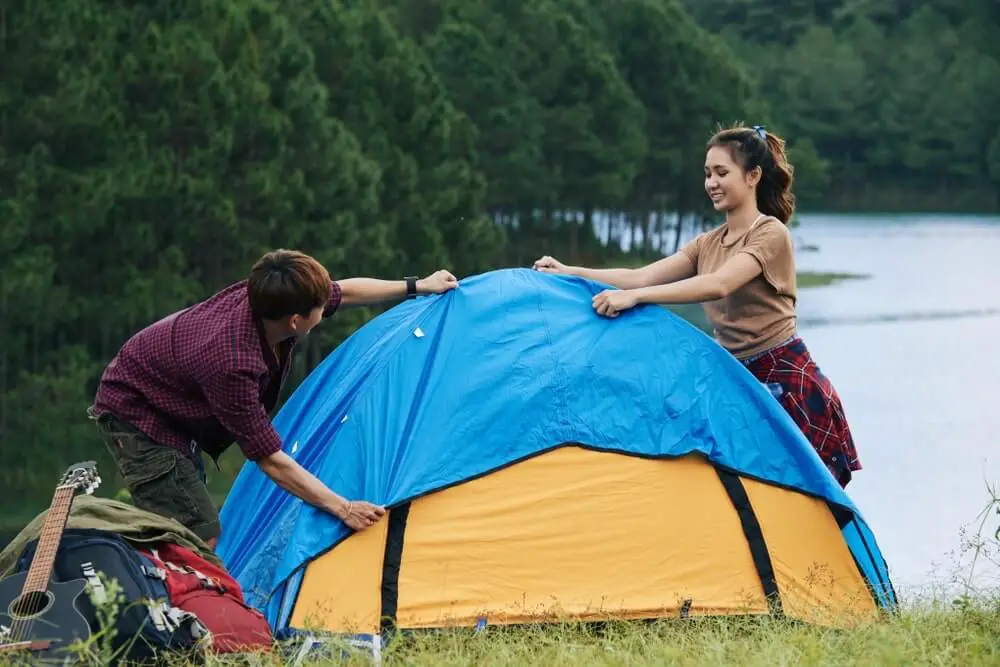
Step 2: Roll Out the Tent
Unfold the tent, identify its base, and lay that side on the tarp or groundsheet, considering where you want the door to be.
The direction of the door will be significant when using a more giant tent, as it will be difficult to reposition it once set up.
Separate the tent poles, fly them, and prepare the pegs/stakes.
Record the number of tent pegs to counter-check when packing.
Step 3: Connecting the Tent Poles
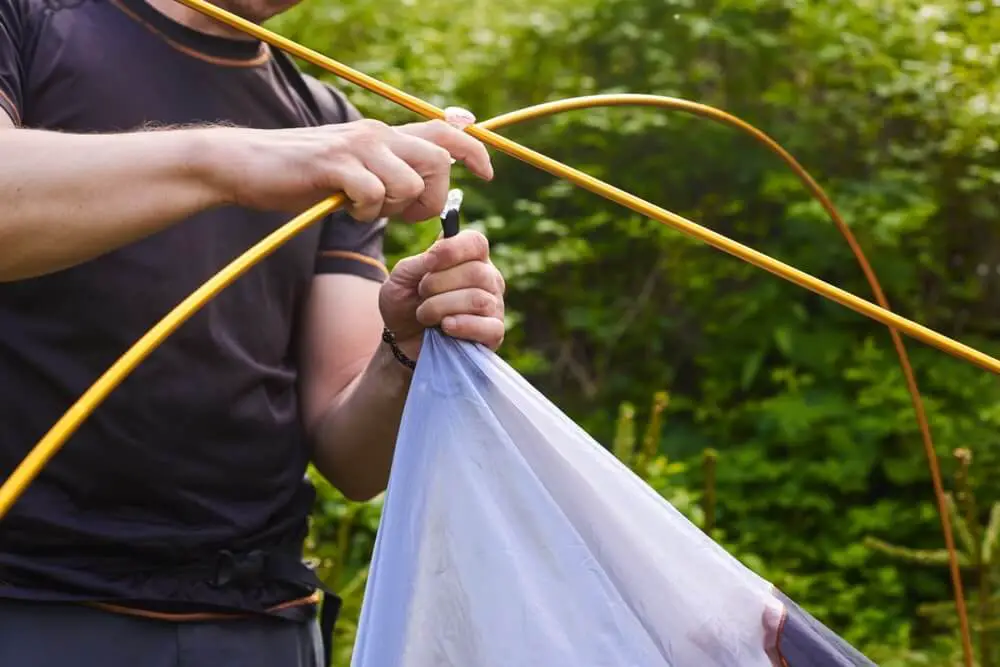
Tent poles are usually divided into bits and linked with stretchy cords or bungee ropes to make them foldable and more accessible for storage.
Prepare the tent poles by connecting the various sections and laying them across the flat tent.
Refer to the instructions manual or attach the poles with corresponding numbers or colors; otherwise, you may label them for more ease next time.
The interlinked sections of the tent poles dictate that they must be connected using a push action instead of a pull action.
Pulling may detach the tent poles and lead to more frustrations when setting up the tent.
Most tents require only two poles crossing each other to form an X as part of the frame.
Some tents require connecting to the outer fly before clipping in the inner side.
In this case, place the ends of the poles into the pole attachments.
Bend the poles to fit them in place, and lastly, clip the top and sides of the inner tent onto the poles.
On the other hand, other tents have sleeves/flaps instead of clips to connect the poles.
Slide the tent poles through the sleeves, then secure the pole ends into the attachments at the tent’s base.
Some tents also have a tie at the peak of the inner tent, keeping the poles intact with the top with a simple bow.
Step 4: Staking in the Tent
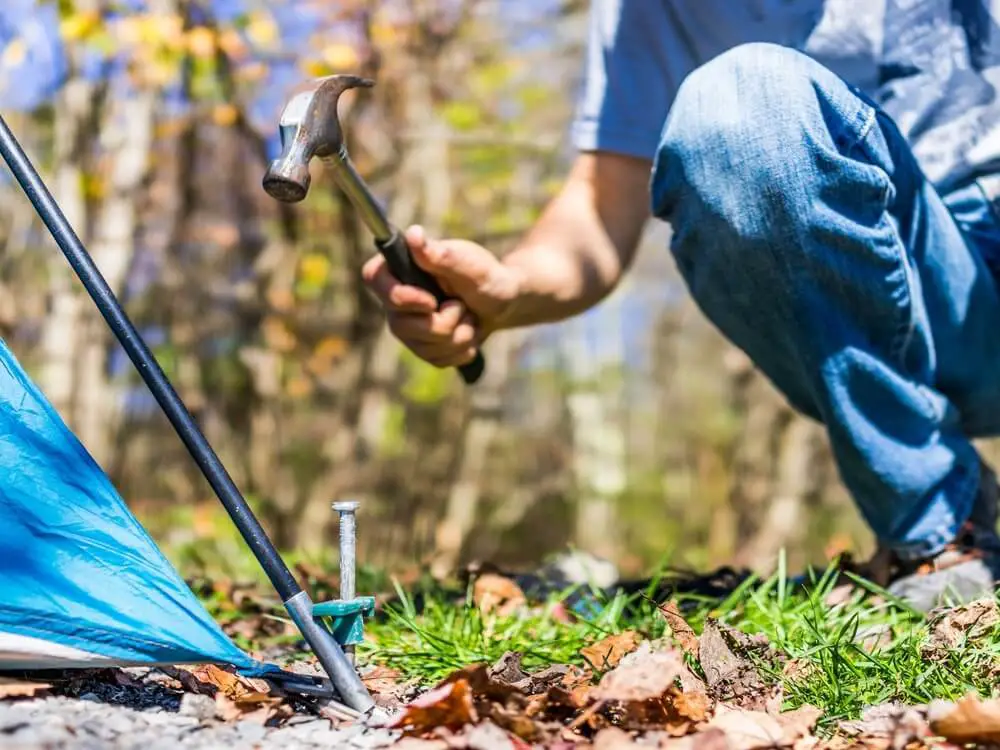
Staking your tent keeps it and anything else inside in one place in case of sudden wind gusts.
Before staking the tent, ensure the door is facing the right direction, away from the wind’s direction.
If it isn’t, turn the tent and tarp in the right direction.
The poles for a self-standing tent will bend in place to raise the tent itself, while in a regular tent, you may be required to bend the poles and raise the tent in place slowly.
Use a peg/stake to secure the four tent corners to the ground.
Pulling the corners away from each other to remove any slack before placing the stakes or pegs will add some tension to the tent.
The stakes should be pushed far enough into the ground and at a 45-degree angle, leaning away from the tent.
The stakes should be exposed enough for easy removal when taken down and adequate for slipping a tie-down cord over them.
A large rock, mallet, or hammer can help drive the stakes/pegs into the ground.
Always pack extra stakes as a precautionary measure.
Step 5: Attaching the Rainfly
Place the rainfly over the top of the tent frame and align the fly’s door with the inner tent’s door.
Use the loops or tabs on the inside of the rainfly to secure it to the poles and ensure the fly’s doors are zipped closed.
Stake the fly in place by drawing the bottom loops as far away from the inner tent as possible.
Maintain an even tension across the fly to prevent it from flapping or touching the inner tent.
This will make airflow management more effective and protect the inner tent from any elements.
Rain may stretch the fly’s material, so you must regularly recheck and readjust its tension.
When in doubt about whether you should put on the rainfly, do it. I had a few times when overnight rain came, and there I was, soaking wet and putting on the rain fly.
Step 6: Guying Out the Tent
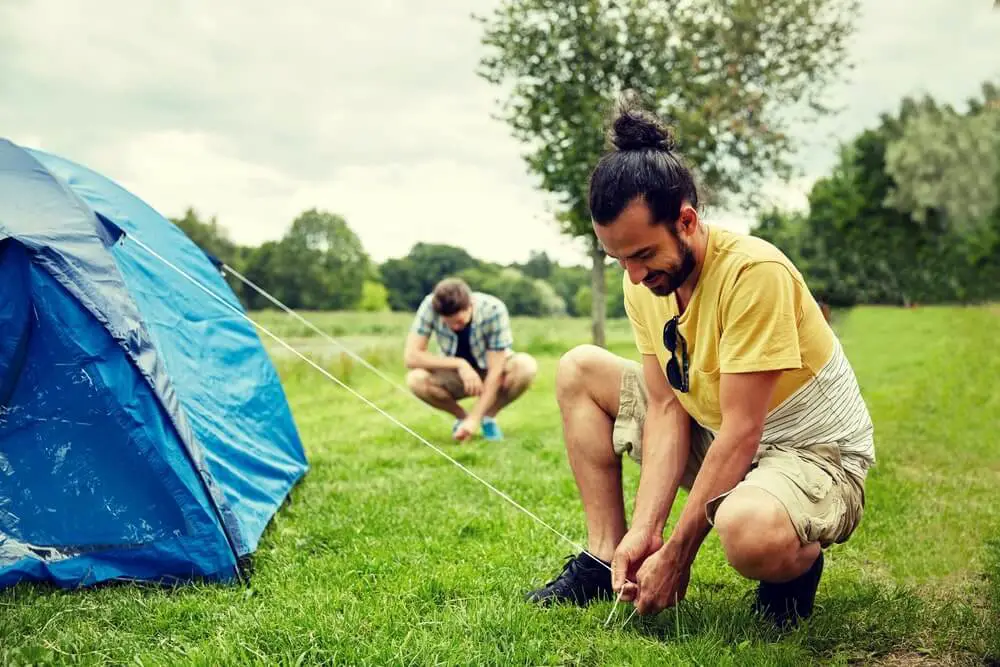
The last step is to secure your shelter to the ground or nearby logs, rocks, or trees.
Guylines create extra tension across the tent, thus creating more stability for the tent against high winds.
The guylines also help keep the fly away from the inner tent, improving air ventilation.
If you have tensioners, a bowline knot will work well; otherwise, a trucker’s hitch will be enough to tighten the guylines at the tent stake.
Guylines are attached at the guy-out points on the side of the tent from which the wind is coming; however, the guy-out points can be added evenly around the tent for equal stabilization on all sides.
A trekking pole can also be used if no tree or rock is nearby.
Maintain the guylines perpendicular to the respective guy out points to increase tent strength.
Notably, non-freestanding tents can’t stand without the use of guylines.
Setting Up a Tent in the Rain or Wind
While setting up a tent in dry conditions is most preferred, circumstances may force you to do so in the rain.
Waiting for the rain to stop can help you avoid all the hassles of setting up in the rain.
Cover under a tarp and avoid sheltering under trees due to falling branches or lightning risks.
Undoubtedly, a good-quality rainfly and tarp will be crucial in a situation like this more than ever.
A waterproof bivouac sack, commonly known as a Bivy sack, is also a reasonable precaution in case the inside of the tent gets wet.
The Bivy sack is lightweight and durable, effectively reflecting body heat.
Tents with zip-out panels can ensure the tent stays dry when setting up.
The panels are removed once the rainfly is set, leaving an excellent and dry tent.
However, this tent may add some extra weight, which can be an issue if you are a backpacker.
A single-wall tent is also easy and quicker to set up.
Always wear the proper footwear if you expect rain.
For instance, waterproof hiking boots are ideal for this situation.
Rubber boots or waders can also be ideal for dealing with wet grass and eventual puddles around the campsite.
Conversely, footwear that dries fast has a firm grip on wet surfaces, and is comfortable to wear is more than ideal for camping in warm climates.
An example of this is sandals or any other hiking or outdoor footwear.
Rain gear such as backpacking rain ponchos will help you maneuver the hassles of setting up the tent in the rain more quickly and without the fear of stocking your clothing.
Water removal is necessary when dealing with rainy conditions in your campsite.
A large sponge, a micro-towel, and a small shovel can help remove water around your shelter.
The sponge and micro-towel are for sopping/wiping out any water, while the shovel can divert newly formed streams and fill in puddles.
Pitching a tent when windy can be challenging, but it will follow most of the steps outlined above.
Place something heavy enough on the fly and tent bag to prevent them from being blown away.
Prep your tent poles as the first step, and have your stakes handy to pin the tent in place.
Please take out the tent from the bag, hold it firmly, allow the wind to blow it away from your body, and then lower it to the ground and stake it immediately.
Clip or sleeve the tent poles in place, and remember to weigh down the tent with a backpack or something heavy.
Pull out the fly and use the wind to lower it on top of the tent frame and connect it to the inner tent and poles.
Guy out the tent to reduce the flapping and lower the risk of damaging the tent.
Remember: If you take down your tent in wet conditions, set it up at home when dryer to reduce moisture during storage.
Other Pro Tips to Effortlessly Set Up Your Tent
A quick-setup tent is perfect for easy storage and fast setup on a campsite.
Generally, a portable, lightweight, and weather-resistant tent will be ideal.
Of course, other types of tents may be more tailored to your needs.
So, consider factors like budget, total number of occupants, personal comfort level, etc.
Some popular types of tents include ridge tents, tunnel tents, dome tents, semi-geodesic tents, and geodesic tents.
Practicing setting up a tent at home is highly recommended.
It will help you learn how to assemble the parts and pack the tent in its bag efficiently and timely.
Most manufacturers include an instructions manual for your specific tent model.
Read and follow the instructions for a friendlier learning curve.
The manual will also include the tent care guidelines necessary for the tent’s longevity.
Moisture can form in the tent due to condensation and/or rain while camping.
It may lead to the growth of mold and mildew, therefore always air dry your tent in the sun before packing it away to reduce moisture.
This can be done by hanging it on a clothesline or low-hanging branches.
Setting camp in the daylight might sound obvious, but it will save you a headache.
Fumbling with headlamps at night affects your line of vision and may hinder you from realizing the features of a good camping spot.
Final Thoughts
Setting up a tent is valuable for leisure, outdoor camping, and emergencies.
Remember the simple steps to effortlessly set up your tent like a pro.
Much practice and planning will help you quickly and efficiently set up a sturdy, comfy outdoor shelter.
Enjoy living the outdoor life!!!